A cheerful flower arrangement will lift your mood. The following are steps on how to pair vase & flower.
Determine the purpose of the arrangement.
Do you want to spruce up your dining room table? Or do you want to assemble a unique bouquet? If you have an idea of where the end product will go, you'll be better able to direct its creation.
Get inspired.
Despite working with words as a career, I'm a total visual learner. Check out floral websites to get your creative juices flowing. Or see what they have grown over at Better Homes & Gardens.
Gather supplies.
Head to your local market to select up a few simple bouquets. Or if you're going big, try buying your blooms from a wholesaler. Fifty Flowers, Wedding Flowers of America, and Bloom Xpress are some of the favourites. Keep the smell of the flowers in mind - you'd hate to overwhelm guests with the scent of too many lilies or gardenias.
You may also need a floral frog, flower design wire, and flower tape. I prefer using a frog instead of floral foam because a frog is reusable, you're less likely to break stems, and you can arrange and rearrange until you're blue in the face.
Prep properly.
Use the pointed pair of scissors you have to cut your flowers. Always cut at an angle and immediately submerge them in lukewarm water.
Once you've cut the flowers, start grouping them. Smaller flowers work well in a cluster. That way they don't get lost underneath a large bloom. Wrap flower wire or tape around the stems to keep them together. These groupings will make it easier to arrange the flowers in a vase.
Go with your instincts.
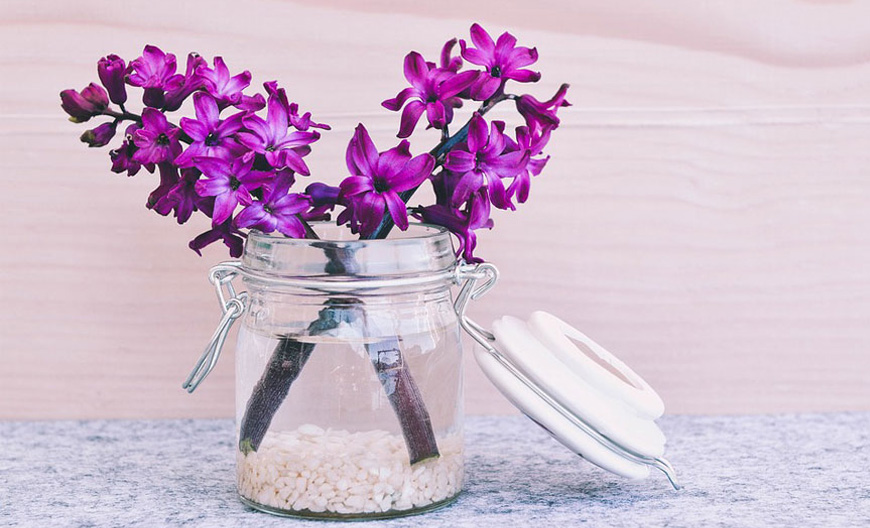
If you want to use your teapot as the vase, go ahead! And if you want to pair two flowers the experts don't recommend, more power to you. In the end, it's your arrangement, so it should look the way you want.
Finally, arrange the flowers in the vase and make sure they are all the same height and evenly spread out so that you don't have more on one side than the other. Now use the bear grass: place it on the one hand of the vase, loop it over the flowers and then put the other end on the other side. Do this a few times to add some style to your arrangement. Voila! You're finished, and the arrangement is ready for display.